My grandmother died earlier this year. At her celebration of life, my uncle told a hilarious story about the time my grandma–a true Tom Jones fan–led our family in a loud sing-a-long to “What’s New Pussycat?” while dining at a pizza parlor. This is easily one of my top five favorite moments of hers, maybe even one of the top three. During the story, my uncle turned to me and said, “Do you remember what happened next?” I shook my head. He continued the story, and I went, “That’s right!” I completely forgot a key moment in the story. It’s not surprising; the impromptu concert happened over twenty years ago.
This is why it is so, so important to document family stories. Your memories may differ from others or fade over time. Maybe you weren’t old enough to remember a story or weren’t alive when it happened. You need the details. We can’t always trust our brains to hold potentially valuable information. I prove this every week when I go to the grocery store. I tell myself, “I don’t need a list.” By the time I get to the pasta section in Trader Joe’s, I’m grabbing products based on vibes.
You can make a memory stronger by pairing it with a photo. The visual helps uncover forgotten details and cements the moment in your mind. But how do you organize your photos with a story? The process may seem overwhelming or unimportant. It doesn’t have to be a complicated project if you have a strategy and process. As for being important, there is nothing more important than your memories. Your story–visual or written–is your memoir. You can and should preserve it. Let’s get started.
How to Get the Stories

You can’t pair photos and memories without the story. The first thing you should do is review your images. If you’ve already organized your photos, this part will be a little easier for you. If you haven’t, don’t worry. You can still gather your stories or work on this in batches while you organize your images.
While looking at your photos, identify the important ones you want to label with a detailed description. Don’t write on the image itself. Instead, write on a separate sheet of paper or digital document. You should note any details you can remember from the photo, including names, dates, locations, purposes, and other relevant information. If you can’t remember any details, set up an interview with relatives or friends who may have more information. This is also a great time to get family stories that weren’t photographed.
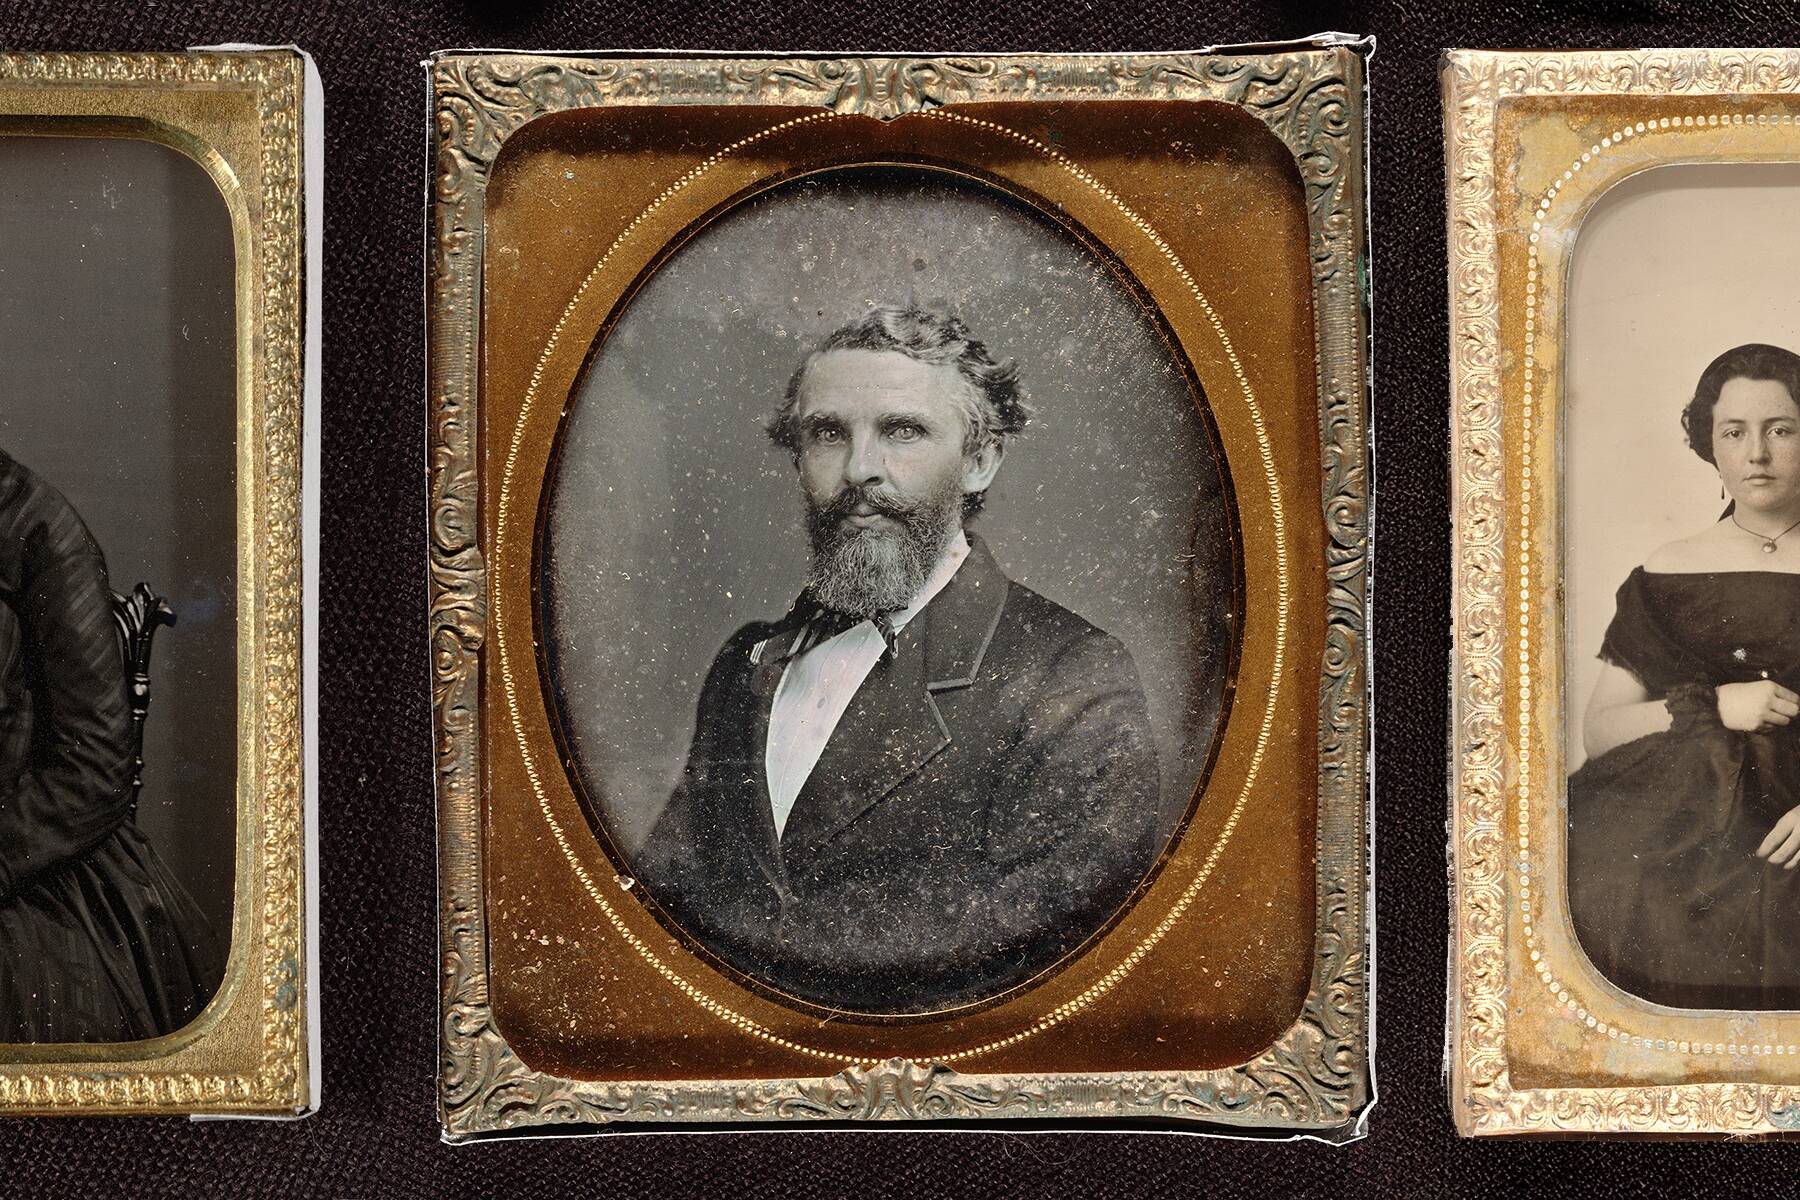
Relatives and friends aren’t available or don’t remember? Start sleuthing. Look for details in or on the photo. Someone may have written a name or date on the back of the image. Try to date the piece using clues such as photo type, fashion, cars, or location. Using this information, you can research to gather more data. Genealogy sites and newspaper databases are a great place to start. Some relatives kept journals and letters that may prove to be helpful. Contact historical societies or join a genealogy group for other resources or input.
The important part of this exercise is to write down something. Not all stories are complete, and that’s ok. Gather what you can. If you want a more robust story, you can add non-personal details that provide context to the photo. Talk about the town or the time. Add your thoughts about the photo or the person in the image. Nonfiction books do this all of the time. Don’t put pressure on yourself to have perfect stories.
How to Display Photos with Stories

This is where you can get truly creative and have fun. Here are a few ideas:
- Album: This is a tried-and-true method. Use an archival album with acid-free black mounting pages or clear archival sleeves. You can write next to the photo on the page or add a new page with your story. You can alternate pages (photos, story, photos, story) or put all of your writing at the back of the album like an annotated book (all photos, then all stories).
- Photobook: You have more creative control with a photo book, especially if you only have digital files. With a photo book, you can make photos different sizes, create collages, add more writing and details, and choose interesting backgrounds. Bonus: making copies for your family is easy.
- Digital document: This doesn’t have to be high-tech. We’ve seen clients make PowerPoint slideshows, Word documents, and PDFs where they feature a photo next to a caption with the story. It’s effective and simple to share with others.
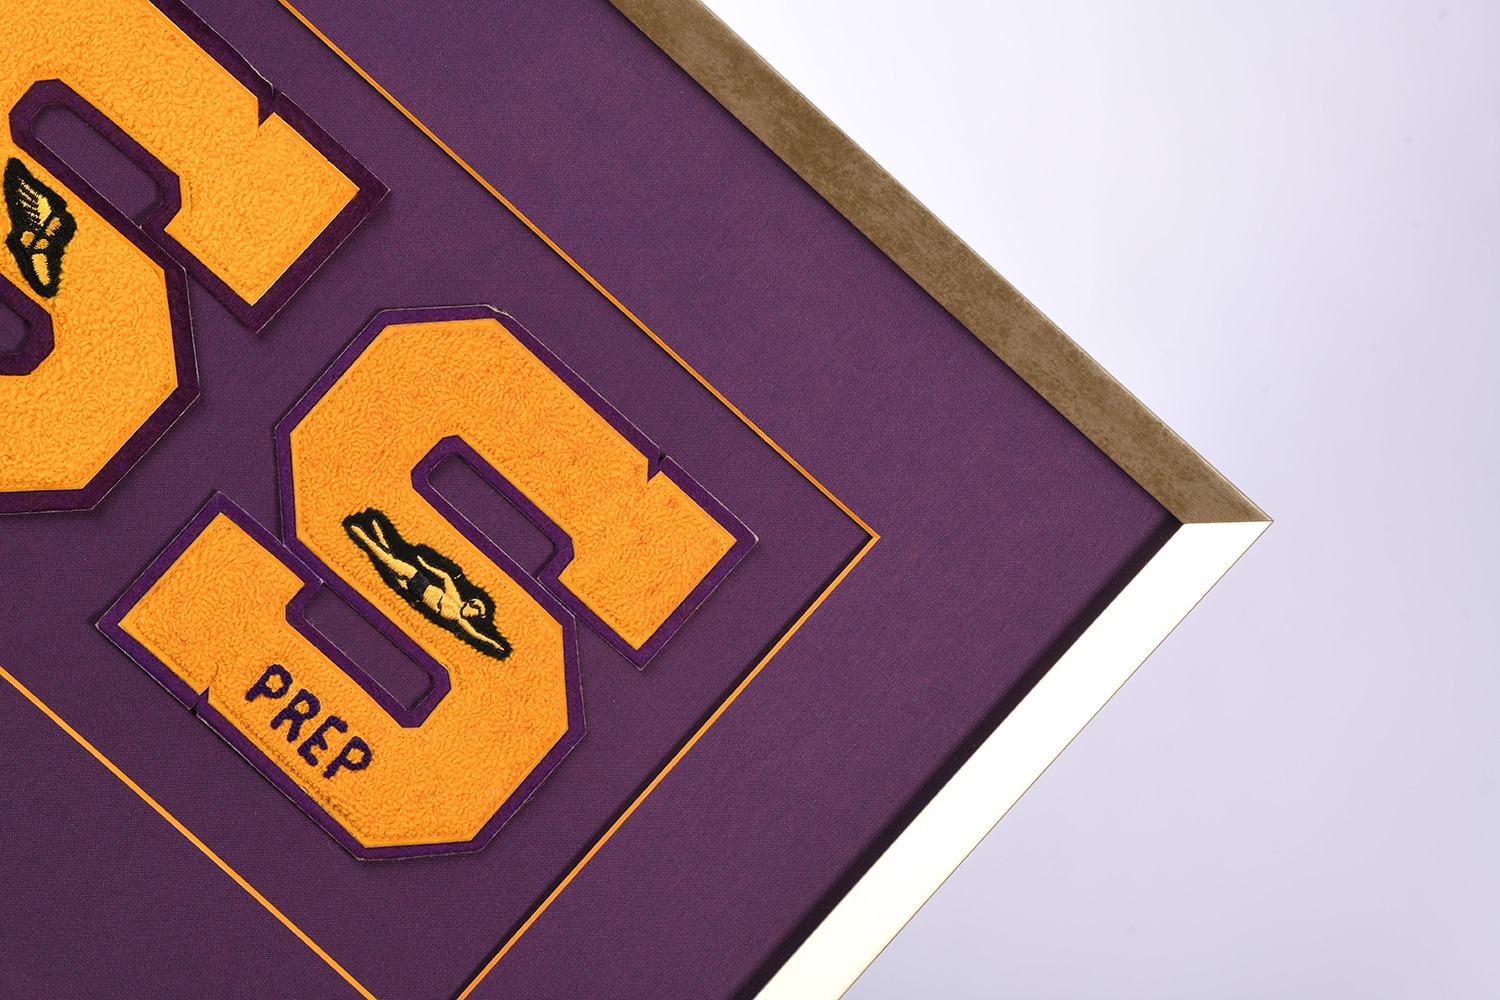
- Collage: This is always fun. You can use framing to create a family tree, collages of one person or side of the family, or a keepsake of a special moment. With framing, you can add a plaque or captions around the images. If you prefer a cleaner design, we recommend adding your story to the back of the frame in a sleeve.
- Photo box: If you’re not concerned about presentation, another easy method is storing photos in an archival box and using archival index cards to record your story.
- Write in pencil on the back of the photo: This is our least favorite method because it is too easy to puncture the image or make an indentation. If the back already has a note, then that’s fine. We’re asking you to be careful.
You can also do what works best for you. Our clients are incredibly creative and have great ideas. If you want to explore a different display or presentation, go for it.
Tips & Tricks
In the kid’s show Pete the Cat, Neville the singing dog says, “You want to make a job harder, just think about how hard it is.” You can do this. Set realistic goals and take your time. Here are a few tips to make the process even easier:
- Be consistent. Set a schedule and show up to write during that time. If you only get one story complete, that’s great! If you write ten stories, even better. Consistency–not quantity–is key.
- Start with what you know first. Fill in the gaps later.
- Back up your work. Make copies and document where you keep your copies. If you’re working by paper, take photos of your writing and save it to your favorite cloud service or hard drive. You don’t want to lose your hard work (trust me).
- Collaborate with a team. Recruit family members or a professional to help you organize or take notes. Don’t be afraid to ask for help.
- Share your final product. Distribute copies at a family party, send the final electronically, or give a copy as a gift. Celebrate your hard work. You’ve earned it.
Interested in photo organizing? Download our e-book “Photo Organizing 101.”
Related Posts
Framing Inspiration: Find the Unexpected
The best art collections aren't about chasing trends. They're focused on…